Anycubic also has some new resin printers in its range this year. The Anycubic Photon Mono M5s and M5 will be released in early June 2023. We were able to try out the “better” of the two, the M5s, even before the official start of sales.
Anycubic Photon Mono M5s | Resin 3D Printer Review, Specs & Price
- Anycubic Photon Mono M5s
- at Anycubic for €449 (pre-order, €50 discount until June 8th)
- Technical specifications
| Model | Anycubic Photon Mono M5s |
| speed | 100mm/h |
| Printing method | LCD SLA |
| pressure room | 218x123x200mm |
| layer height | >0.01mm |
| resolution (display) | 11520x5120p (12K) |
| size (printer) | 290x270x460mm |
| weight (printer) | 8.9kg |
| Publication date | May 2023 |
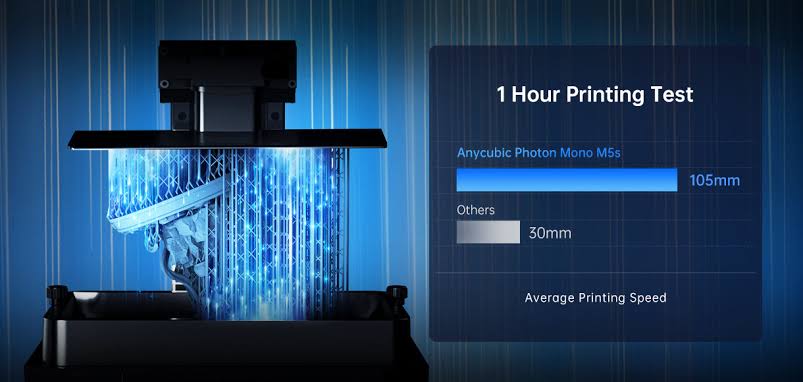
The Photon Mono M5s has a 10.1-inch, ultra-high-resolution 12K display with a resolution of 11,520 x 5,120 pixels and, according to the manufacturer, should have an average print speed of 105 mm/h. In both respects it is the same as the slightly cheaper M5, but there are a few notable differences.
This makes operation of the M5s even easier and it is the manufacturer’s first resin printer that does not require leveling . There is also an automatic print status monitor that is designed to detect printing errors. Both are small QOL adjustments that significantly simplify the sometimes complex maintenance of the printer.
We received the printer before it was launched and were able to try out the functions and do a few test prints.
Packaging And Accessories
The printer is large and comes in a correspondingly large box. As usual, it is also well padded to protect the expensive printer during transport. There are no surprises here, except that I am always amazed at how space-saving you can store all the accessories in a very small space.
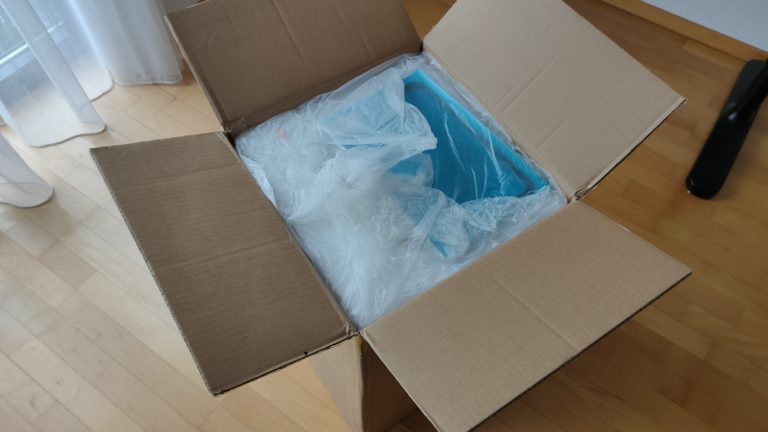
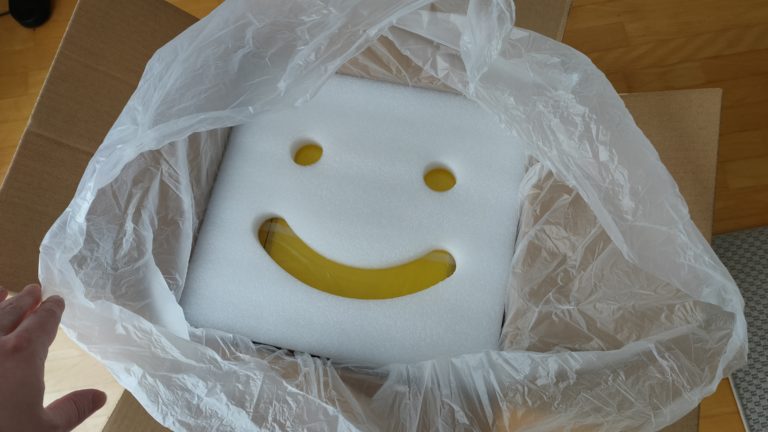
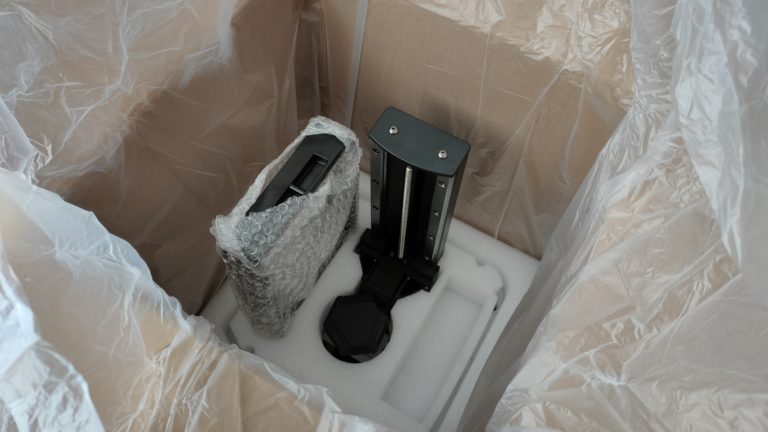
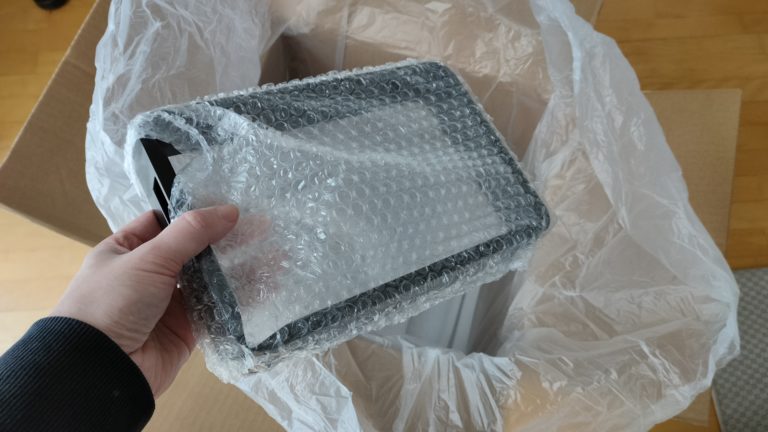
Next to the printer you will find the usual accessory box in the box. This includes two spatulas, plastic and metal, a pair of gloves, masks, filter screens for the resin and a USB stick. In addition, we get a replacement film for the resin tub and – for me, the first time with a 3D printer – a protective film for the display, which you have to apply yourself.
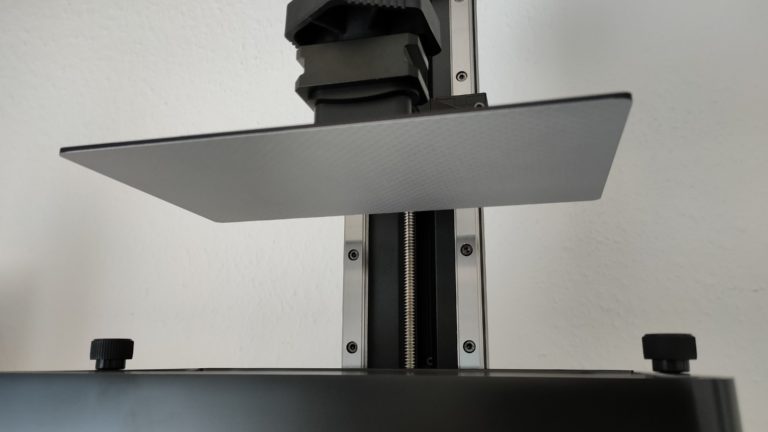
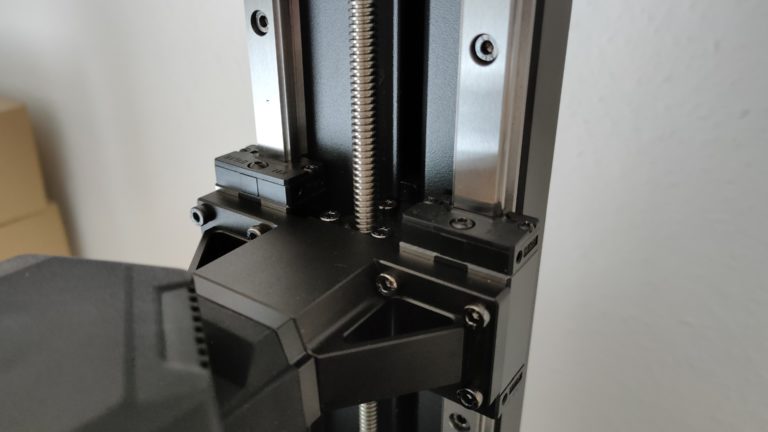
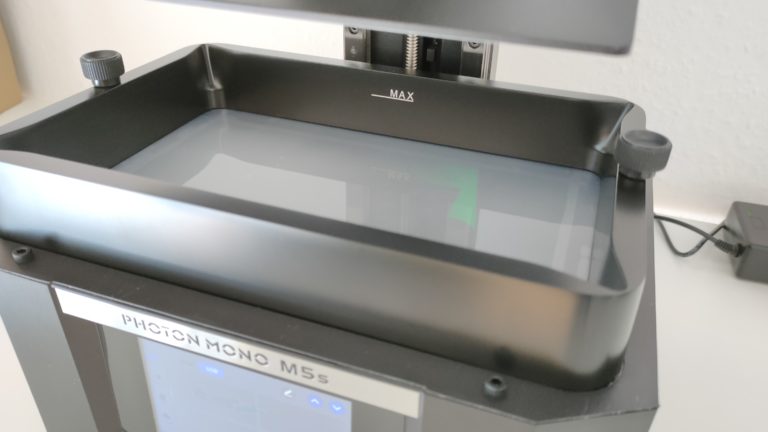
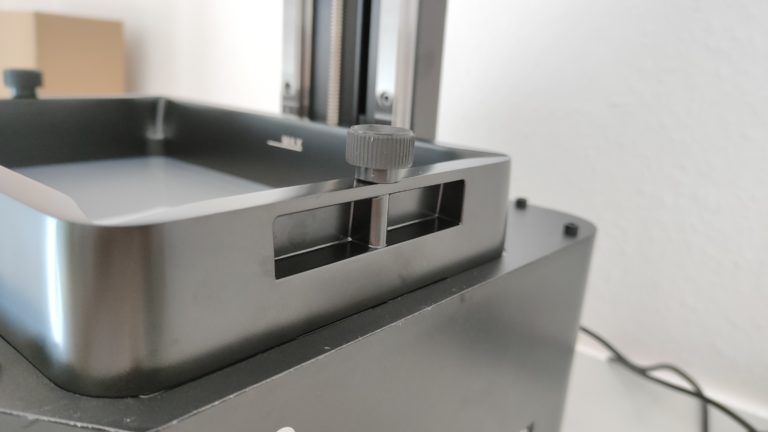
The printer itself is 290 x 270 x 460 mm and weighs 8.9 kg. No longer a small printer, but we also get a print space of an impressive 218 x 123 x 200 mm. The display and the tub, which holds a lot of resin, are correspondingly large. The tray is attached with two screws and sits firmly in one place due to appropriate indentations on the surface of the printer and cannot slip.
The printing plate has a laser-engraved surface with a clearly recognizable checkered pattern. Good grip on the surface is always a double-edged sword: if the object doesn’t stick well enough, it will come loose and the print will fail. But if it sticks too tightly, the finished object can only be detached from the plate with a great deal of force and either damages the object or scratches the plate.
Both have happened to me in the past. The surface of the record is only one factor that influences this, but it works well here. For my first few prints, the objects might have held a little too well and detaching from the plate was a little too difficult. But that’s nothing that can’t be remedied with adjustments to the exposure time.
Setup of the printer
A protective film must be applied to the display before the printer is set up. This happens in the same way as with a smartphone or tablet display, anyone who has done this themselves knows how to do it. The necessary materials such as cleaning cloths and a spatula for squeezing out any air bubbles are all included. At first I assumed that the foil would be attached later and was only missing on our test model, but it really seems to be the norm. However, it is not a big effort to attach it and as long as you proceed carefully you should not encounter any problems here.
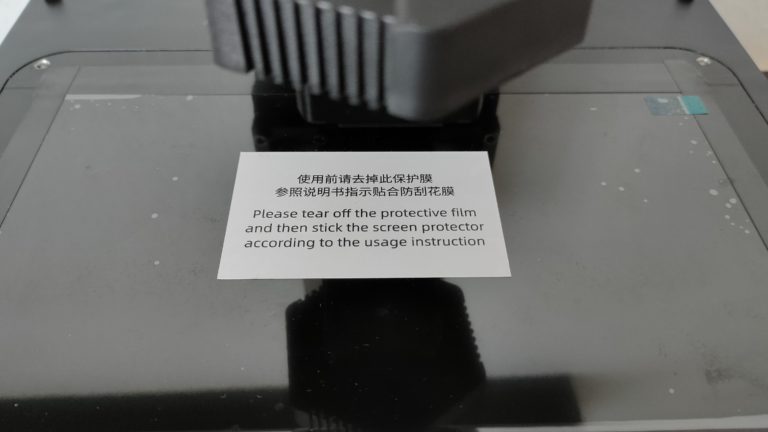
What is completely omitted is the leveling. I was amazed that there were no instructions in the packaging. In fact, it is not necessary here. In the arm to which the printing plate is attached, there is a sensor that automatically detects the distance between the plate and the display. It actually works and I get the prints right away. The leveling wasn’t really a complex step anymore, but in my opinion this development is overdue. SLA printers hardly need any preparation anyway, now you can really start printing right after unpacking.
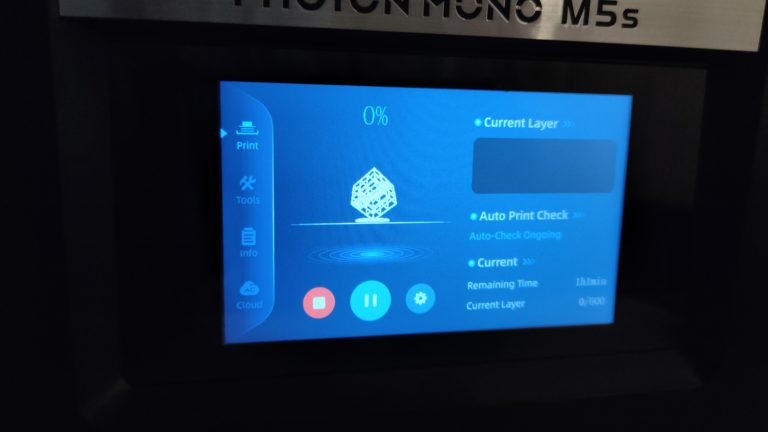
The printer is operated entirely via the display on the front. It’s similar in size to previous models, but has a completely new UI that’s clearer and looks a lot fancier. The display itself or the cover above it is very shaky and with every input you somehow get the feeling that something is not processed properly here. However, this is the case with many printers and at least does not detract from the operation, because inputs are always recognized.
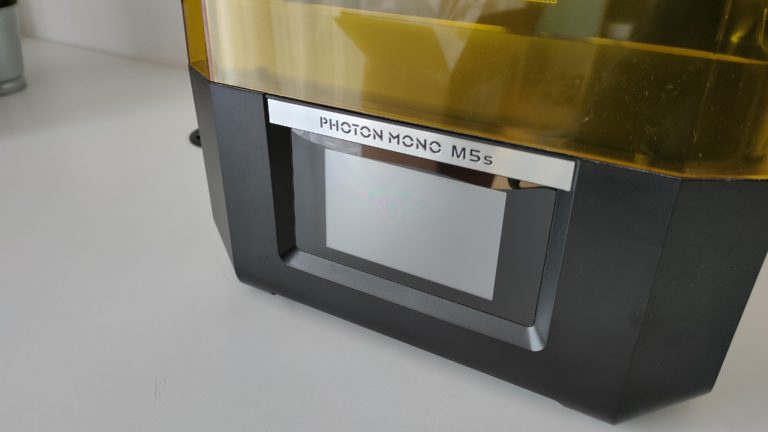
At this point I would like to say a few words about the resin tub lose. In itself, it is not noticeably different from other models. it is made of metal, has a single mark for the upper level and spouts in each corner. What I would wish for would be a kind of handle, because when pouring out the resin, the tub is actually always unfavorable to hold with one hand. But what I noticed very positively about the M5s is the foil or the bottom of the tank. It is less transparent and looks rather milky, but overall it is very easy to clean.
Cleaning the printer after printing is always the part of the test I dread the most. You need gloves, you have to be extremely careful not to mess everything up and spill resin on the table or floor and wipe out the tank. But it has never been so easy as here, almost as if all surfaces were covered with a non-stick coating. Just cleaning the Anycubic Photon Mono M5s made resin 3D printing more appealing to me again.
All in all, I want to give the printer great praise for the complete handling. The structure, operation via the display and even cleaning are easy to do here.
Printing with the M5s
However, no matter how simple the handling is, it is worth nothing if the print results are not correct. So it’s time to try out the Anycubic Photon Mono M5s. Surprisingly, there were no test files on the USB stick , but Anycubic sent them to us later. I’m assuming that this will be different in the retail version and that the slicing software, instructions and test files will be on the USB stick as usual. Alternatively, there are test files at Anycubic on the website or in the associated app.
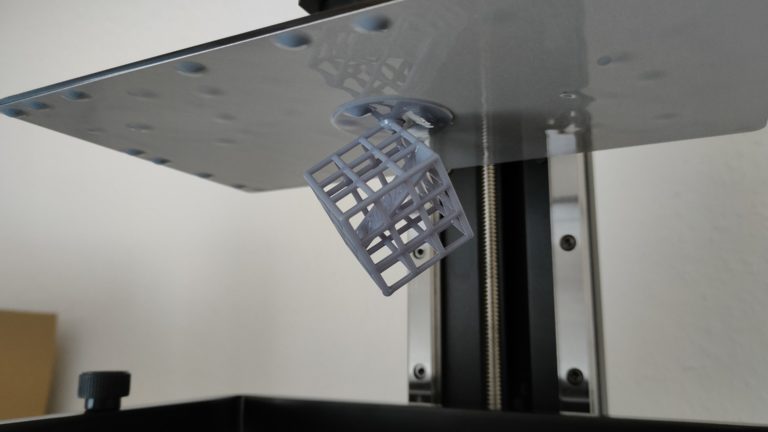
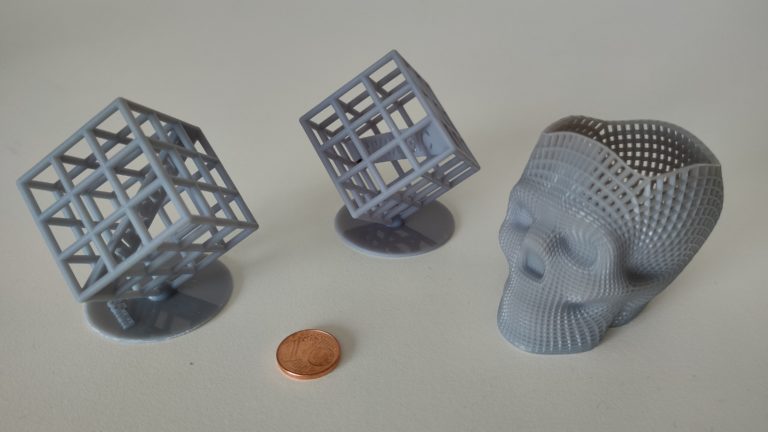
The test model is the well-known lattice cube with Anycubic lettering inside. As always on the first press, I didn’t change anything in the settings, just pressed start. The 600 layers with a thickness of 0.1 mm took 57 minutes, so just under an hour to complete. The printer also shows me that 4.55 ml of resin has been used. The specification is much more realistic than the value of almost 40,000 mm/h for the speed. A system update is welcome to improve this again.
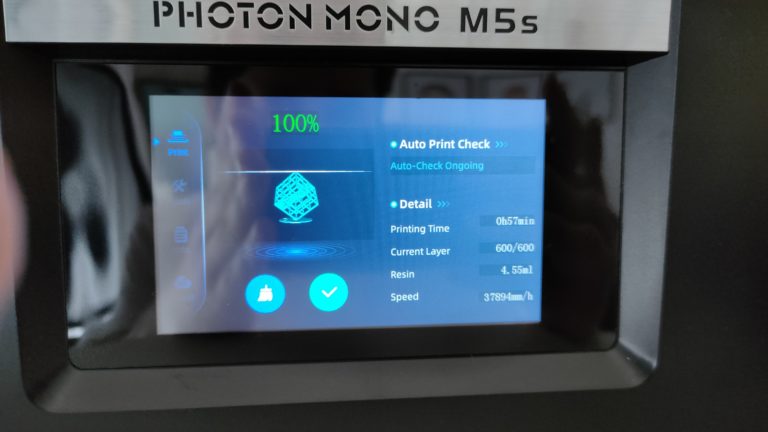
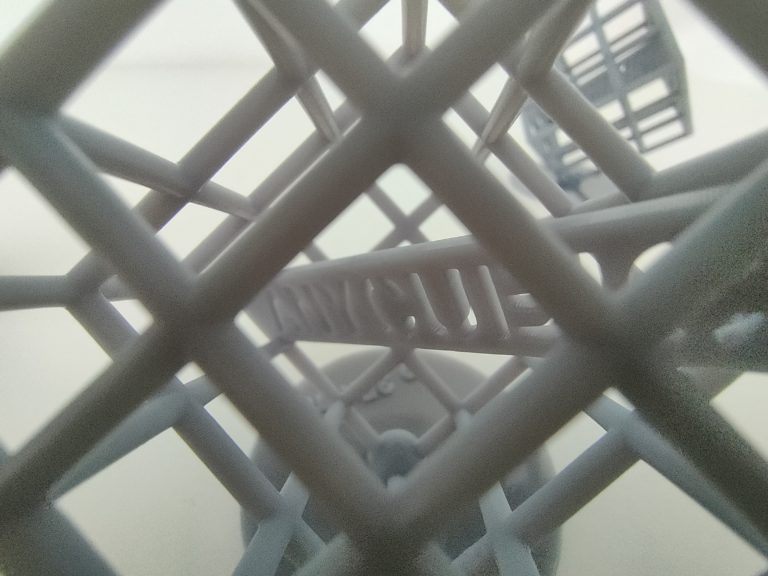
In any case, the print works well, the finished model could also be easily detached from the printing plate. This is followed by the usual cleaning and curing in the Anycubic Wash & Cure Machine, and the finished model can be admired. Despite the layers of 0.1 mm, which are comparatively thick for SLA printers (I usually print with 0.05 mm, 0.01 mm is also possible), you can only see the individual layers with the naked eye in the right light. The print is immaculate and a very nice first example of what’s possible with the M5s.
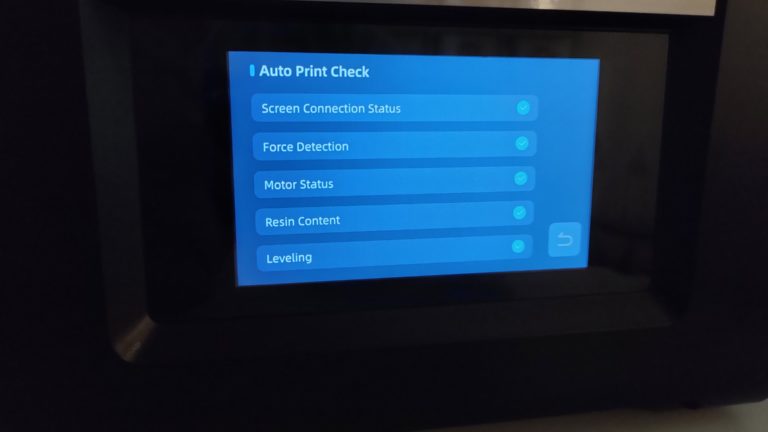
An interesting printing feature is the so-called “Auto Print Check”. As already mentioned, the printer independently checks various factors during and before printing. Here it should be automatically recognized if there is too little resin or if the print detaches from the plate. Since you always had to wait for the platform to rise far enough out of the tank to be able to see the failed print, this sounds like a damn handy innovation.
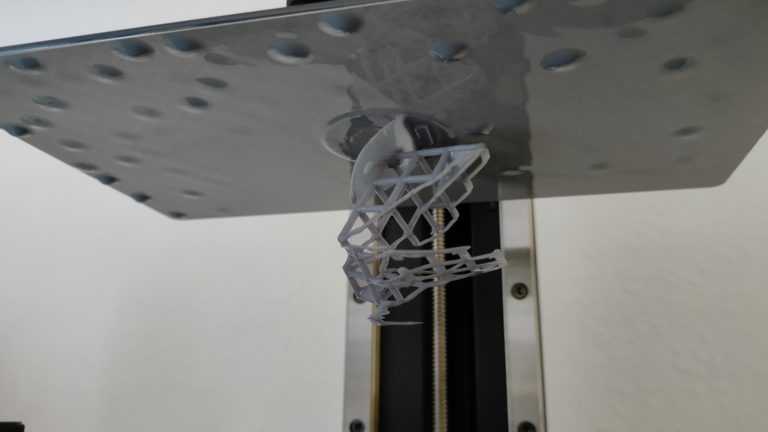
However, this does not mean that you are free from errors, as I found out when I printed it the second time. Here I used the same test file but printed it at a higher speed. The print failed and partially detached from the plate; but I didn’t get an error message. Here, too, I expect that firmware updates will be delivered that will improve this.
The subsequent prints, another attempt with the test file and a self-sliced skull worked again without any problems.
The slicing software has meanwhile also been updated. Anycubic Photon Workshop looks different in the 3.1.3 version I used, but the features are the same and it’s still easy to navigate. I don’t want to go into too much depth here, for simple slicing of files with adjustments to the size and orientation of the object, automatic or manual insertion of support structures and setting the print details from layer thickness to exposure time and speed, everything is available here.
Miscellaneous
Like all printers with resin, there is also a clearly perceptible odor development here. Although the filters in 3D printers have gotten better, in my experience none have managed to completely prevent the smell. Anycubic is not even talking about particularly good fans or air filters here. If you want to operate the printer in the apartment, you should ventilate it well and preferably not stay in the same room for too long.
Ordinary 405nm resin can be used as the printing material. In the test, we used the High Speed Resin from Anycubic in gray.
What are the best uses for the printer ? Here the Photon Mono M5s does not differ from other resin printers. The high resolution enables a high level of detail even with small objects, which is why the printers are becoming increasingly popular, for example for figures for board games, strategy war games such as Warhammer or role-playing games such as D&D.
In addition, of course, all kinds of decorative elements are conceivable, from small key rings to larger shapes and figures for home decoration. The often mentioned examples of dental technology or architecture are more professional applications than hobbies.
Firmware updates for the printer are available from the Anycubic website. The latest version available for download there is v1.0.2.1 (as of June 6th). A few more test files can also be found here.
There is an app for the printer. With the Anycubic app, not only can the prints be monitored, there is also the option of downloading .stl files or even files already sliced for the printer and sending them directly to the printer.
Conclusion
So far I like the Photon Mono M5s very much and after a few months of abstinence from 3D printing, it finally brings a breath of fresh air to the topic for me. The automatic leveling is advertised here as the big plus and in fact I find the setup and entry here very pleasant. As always, you can (and must) print dozens of other models to find out all the little details and maybe optimize them a bit by adjusting the settings. However, the printer delivers from the factory and with the standard settings.
Pros
- High print speed
- Very high level of detail (12K display)
- No leveling necessary
- Easy cleaning (for a resin printer)
Cons
- Pressure monitoring still in need of improvement
Until June 8 at 4 p.m. there is still a discount of 50€ if you order the printer from Anycubic. This comes to a price of €449, which puts the printer in the middle price range. Consumer printers are also available from €150, but larger models in particular are sometimes approaching 1000.
 Number One Boats from USA. Boat Marketplace Group Network. All Boats & Yachts for Sale, Reviews, Specs, Prices, Craigslists.